|
The first sign of a worn out clutch is that the kick starter slips. I have found that it is due to the clutch disc being glazed more than being worn out. If you are on a tight budget you can lightly sand the glaze off and then re-coat with oil.
Before installing new discs you should let them soak in oil for a day.
There are a couple different configurations of clutch plates. I will cover the most common one used most CT's from about 69 to the CT110's.
|
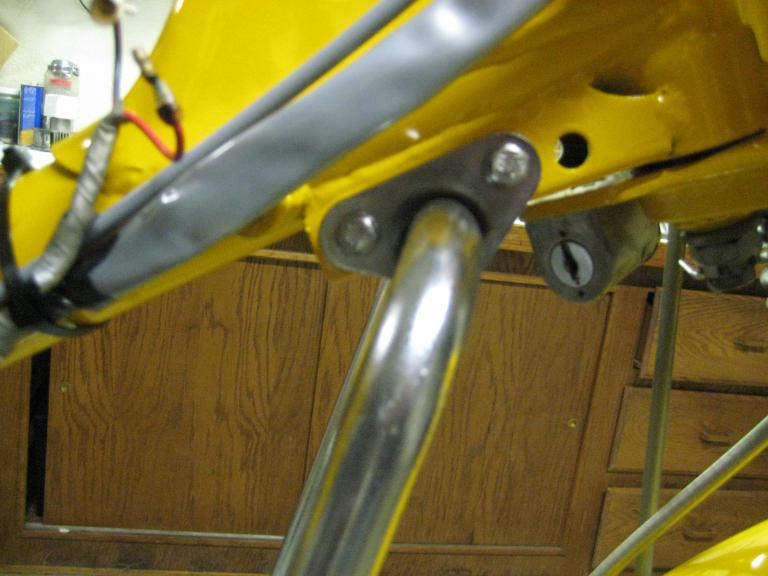
First step is to remove the foot peg assembly. Then loosen the four bolts on the upper section of the engine bash guard so it can be swung down and out of the way to clear the right side cover.
 |
|
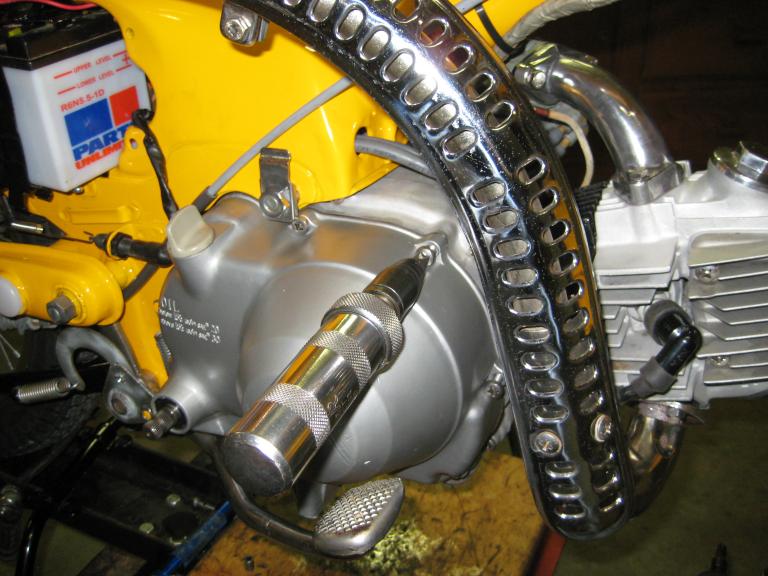
Next step is to remove the right side engine cover. You will need a impact screw driver with a #3 phillips bit to remove the screws. Sometimes the head still strips out. If so, use a dremel tool to cut a slot across the head, then use the standard bit to break them loose.
|
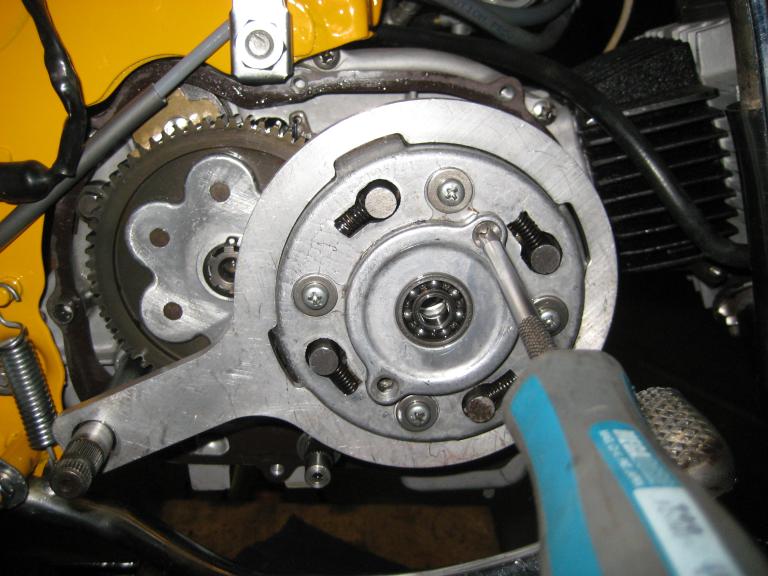
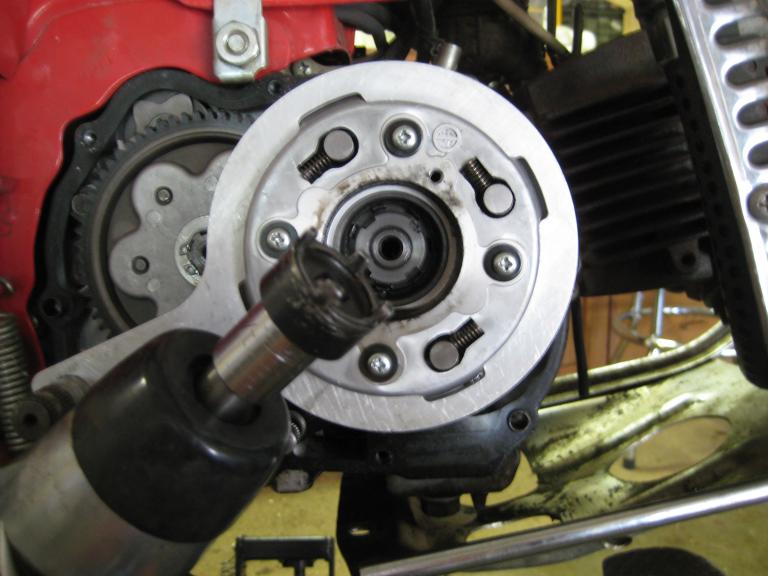
Once the cover is off remove the inner clutch cover. You will need a clutch holding tool or a strap wrench will also work to keep the clutch from spinning.
 |
|
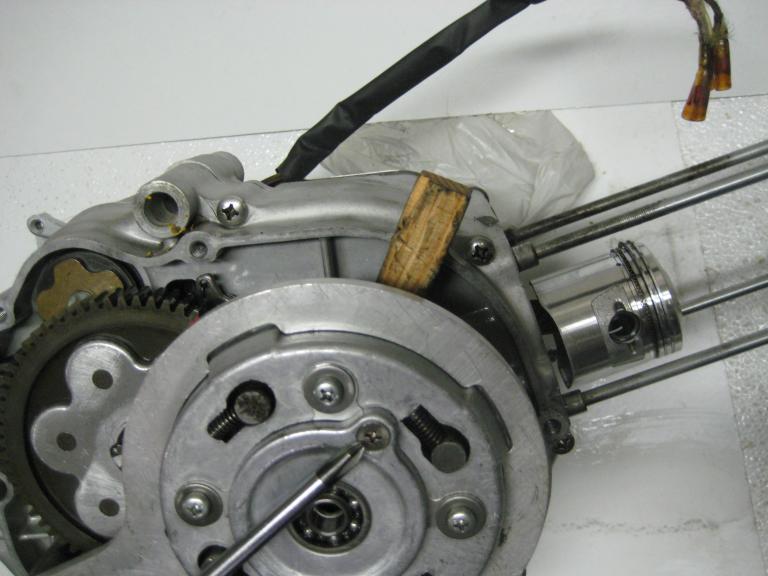
If you need to use the impact driver use a block of wood wedged in between the basket and engine.
If you strip the screw out you will need to drill the heads out. Once the cover is off the screw shaft will easily unscrew out of the basket.
|
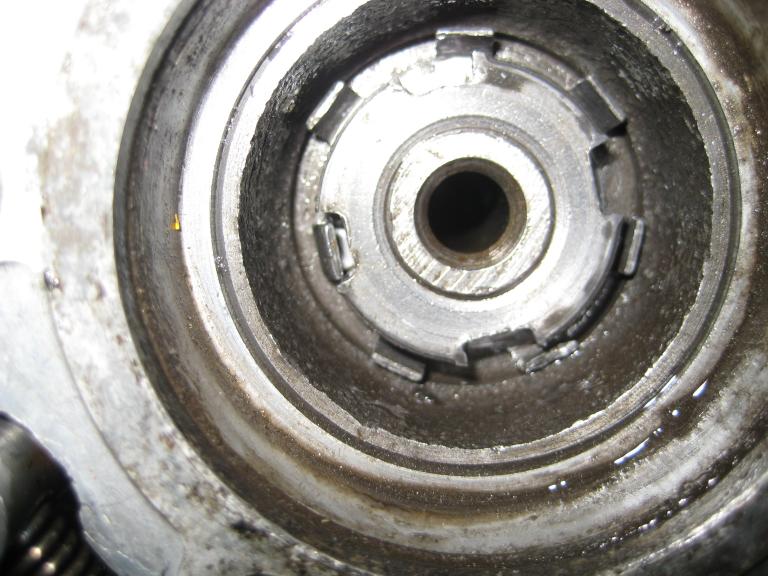
Bend the tab back on the clutch nut.
|
Using a clutch removal socket and either a air impact wrench or breaker bar remove the nut.
Both the socket and holder tool along with all parts needed can be purchased at www.dratv.com
The clutch will then lift off the shaft.
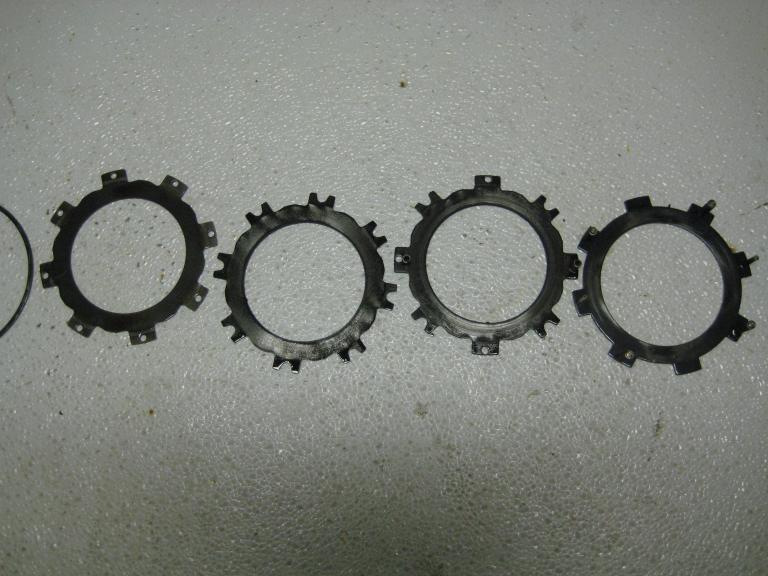
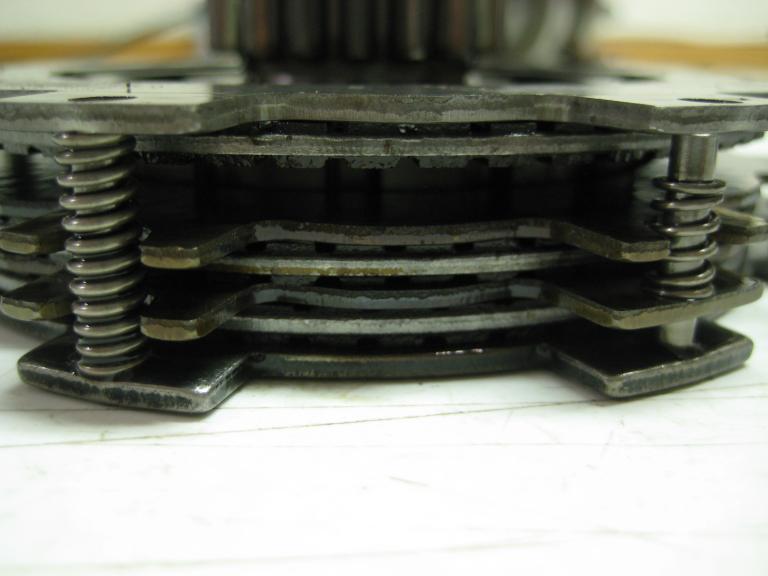
Remove the keeper ring and then remove the plates laying them out in order paying attention to where the short and long springs are located.
|
 |
Now it's time to reassemble. The stack should look like this.
(I know, the short springs look funny, but when compressed in the basket they are correct.)
 |
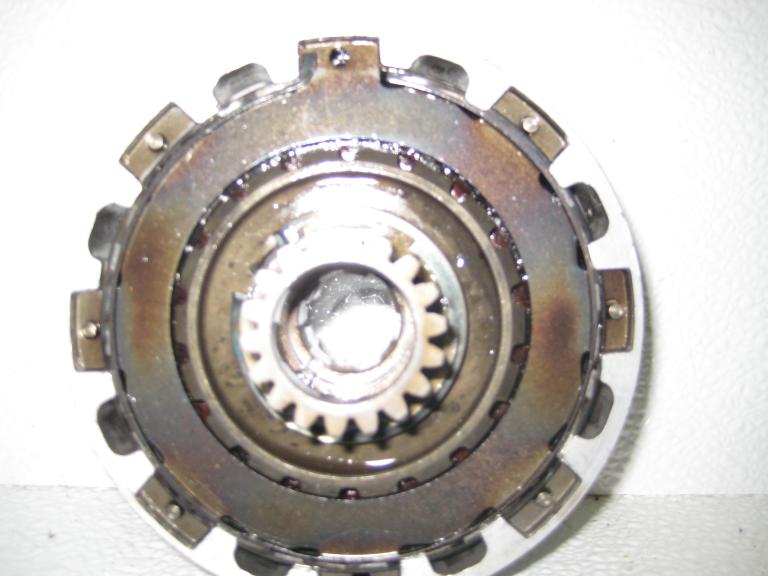
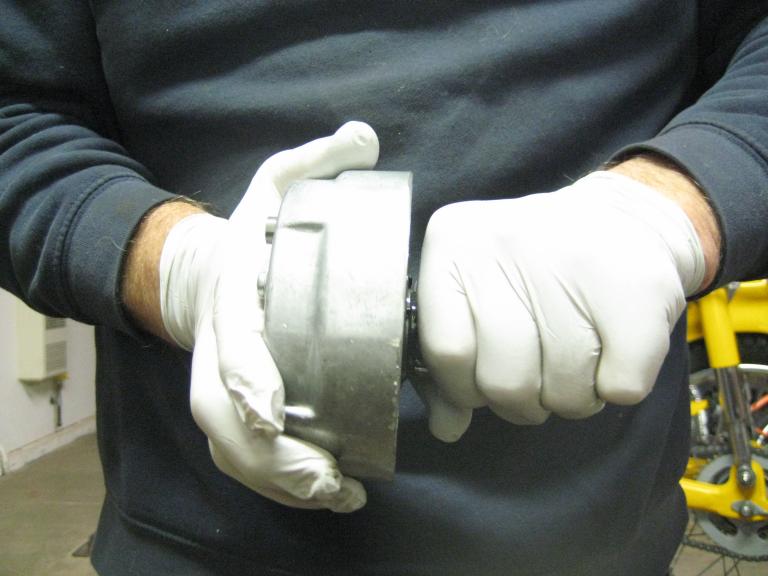
Now that it's all put together, test it to make sure it's right. When holding the basket in your right hand the gear side should turn clock wise and lock up when turning it counter clock wise until you push in on the gear. With the gear pushed in it should turn in both directions.
|
Time to reassemble. The clutch nut should be torqued to around 30flbs.
There are several methods of reinstalling the side cover. One is to lay the bike on it's left side then stack the center spring on the inner cam plate then the tri bearing plate then the cover. Using this method, be sure you do not have the shift lever hitting the floor.
The other method is to put some greese on the bearings then stick the bearing plate on the inner cam plate.
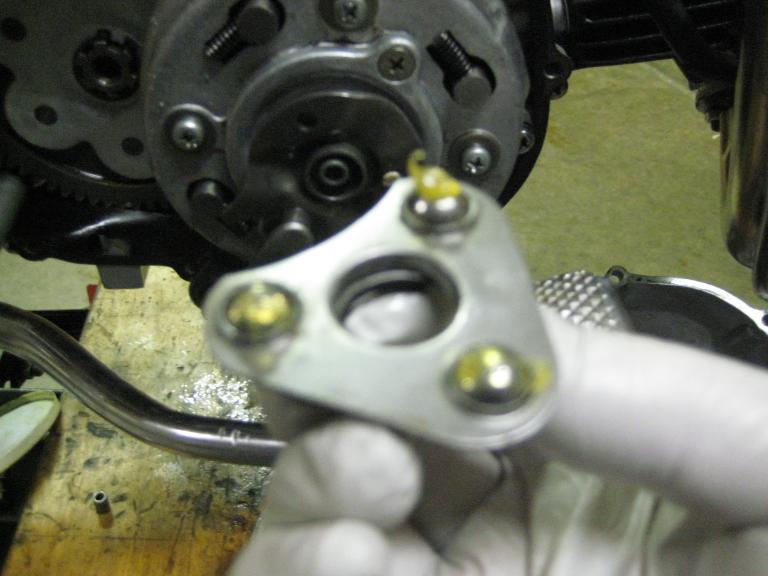 |
The method I prefer is to hang the spring on the inner cam plate then hang the tri bearing plate on the side cover.
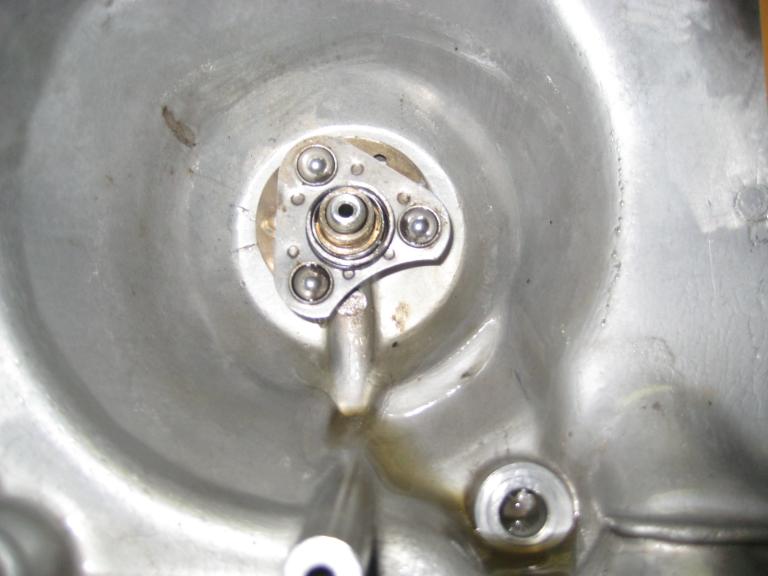 |
To adjust the free play in the linkage, loosen the locking nut on the cover, turn the center screw clockwise to make sure the clutch is not engaged. Now turn the screw in until you feel a little resistance on it. This is the point where all the pieces are touching each other. Now back the screw off about 1/8 of a turn to allow for free play in the linkage. Holding the center screw tighten the locking nut.
You're finnished. |